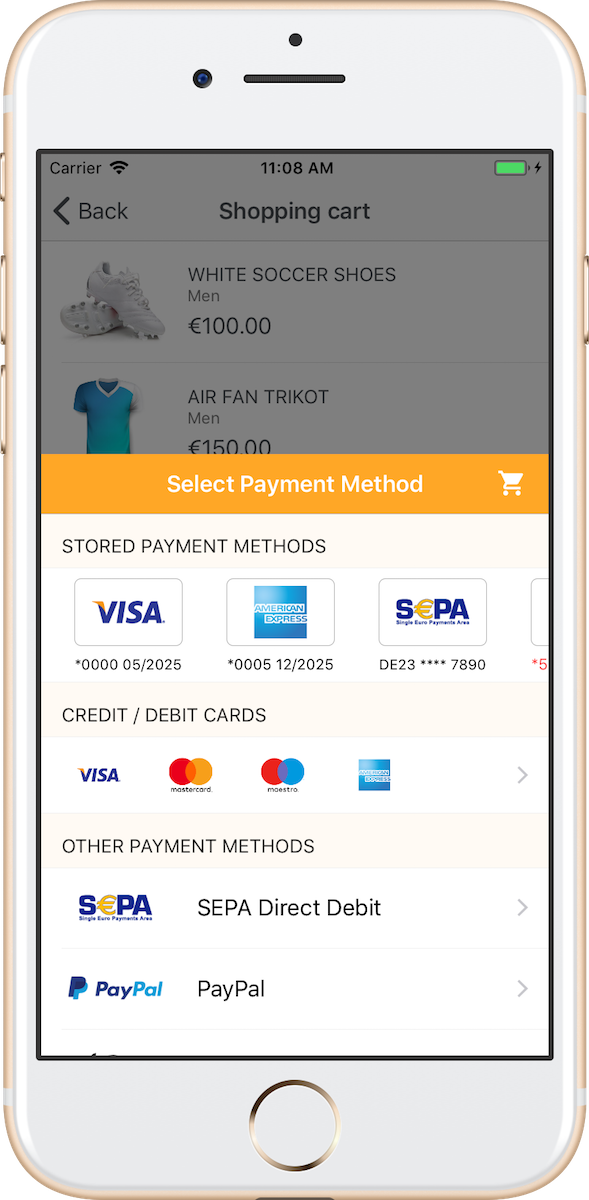
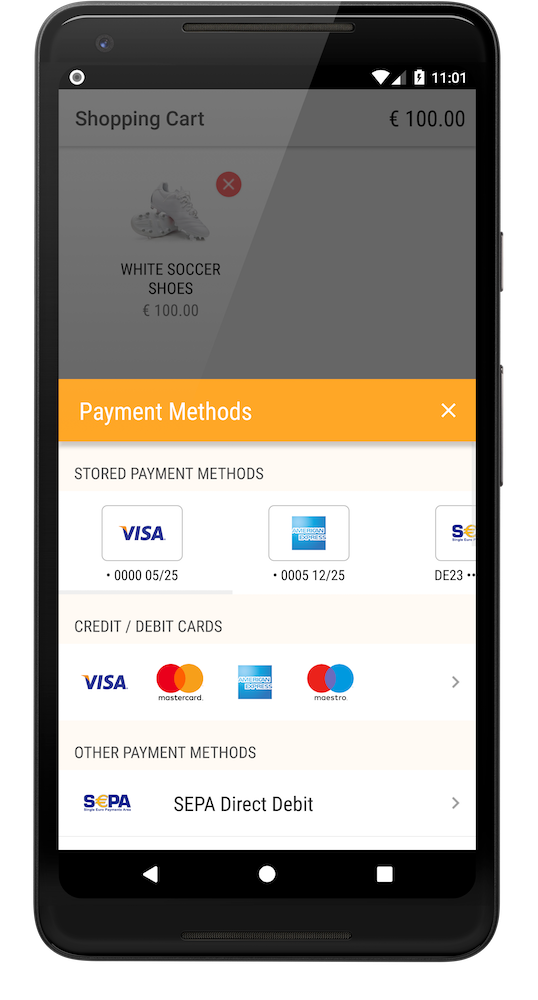
Tokenization
Tokenization replaces sensitive payment data such as credit card number with a unique identifier or token. Once you obtain a token for card data or a bank account, you can charge transactions on these tokens without having to store the payment data.
Supported payment methods to store
Card details
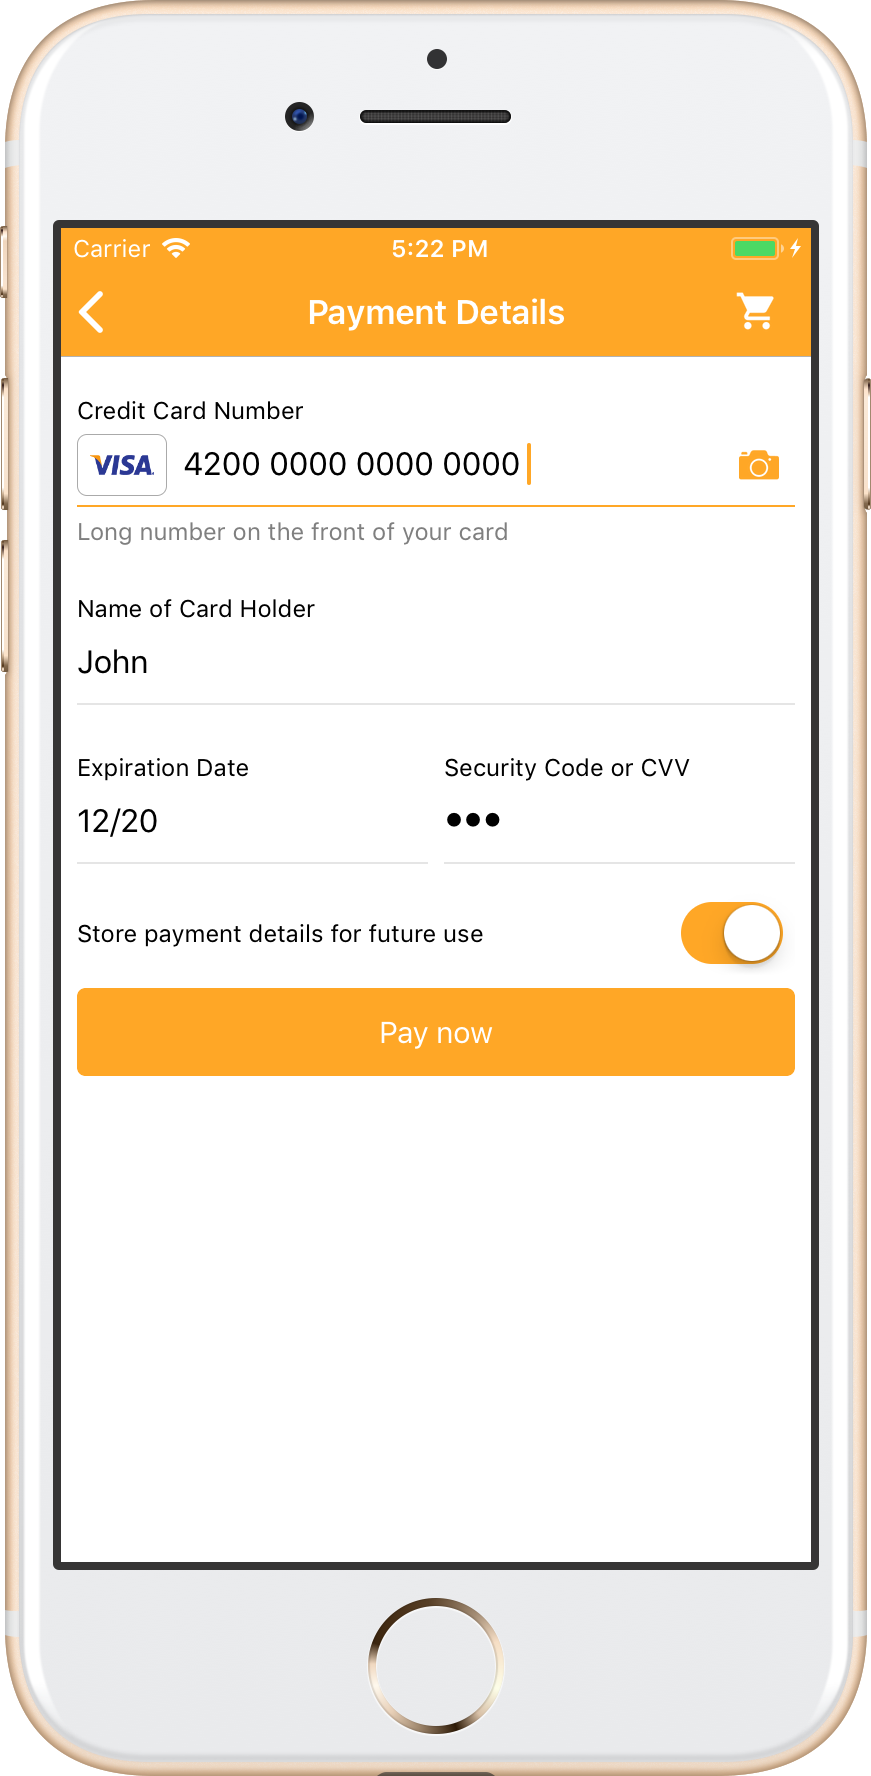
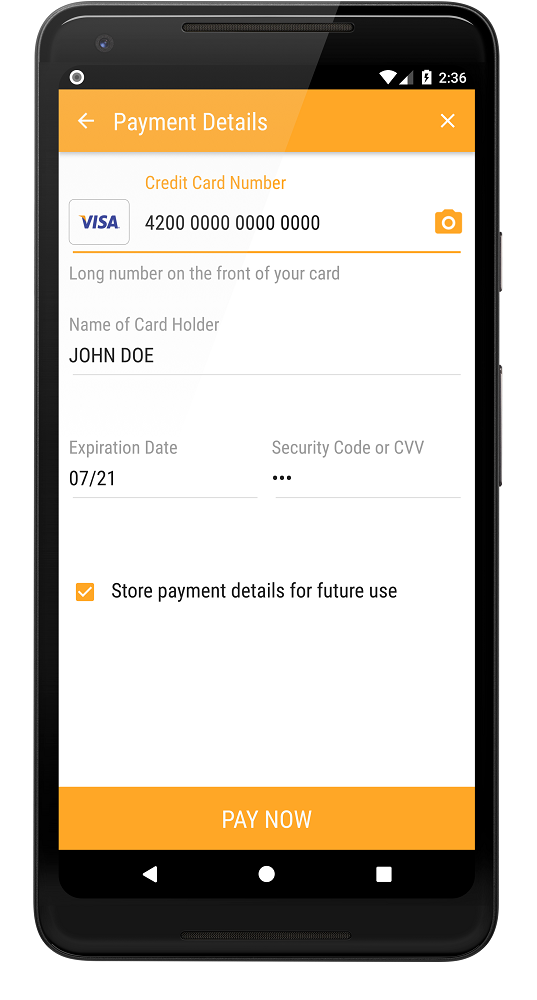
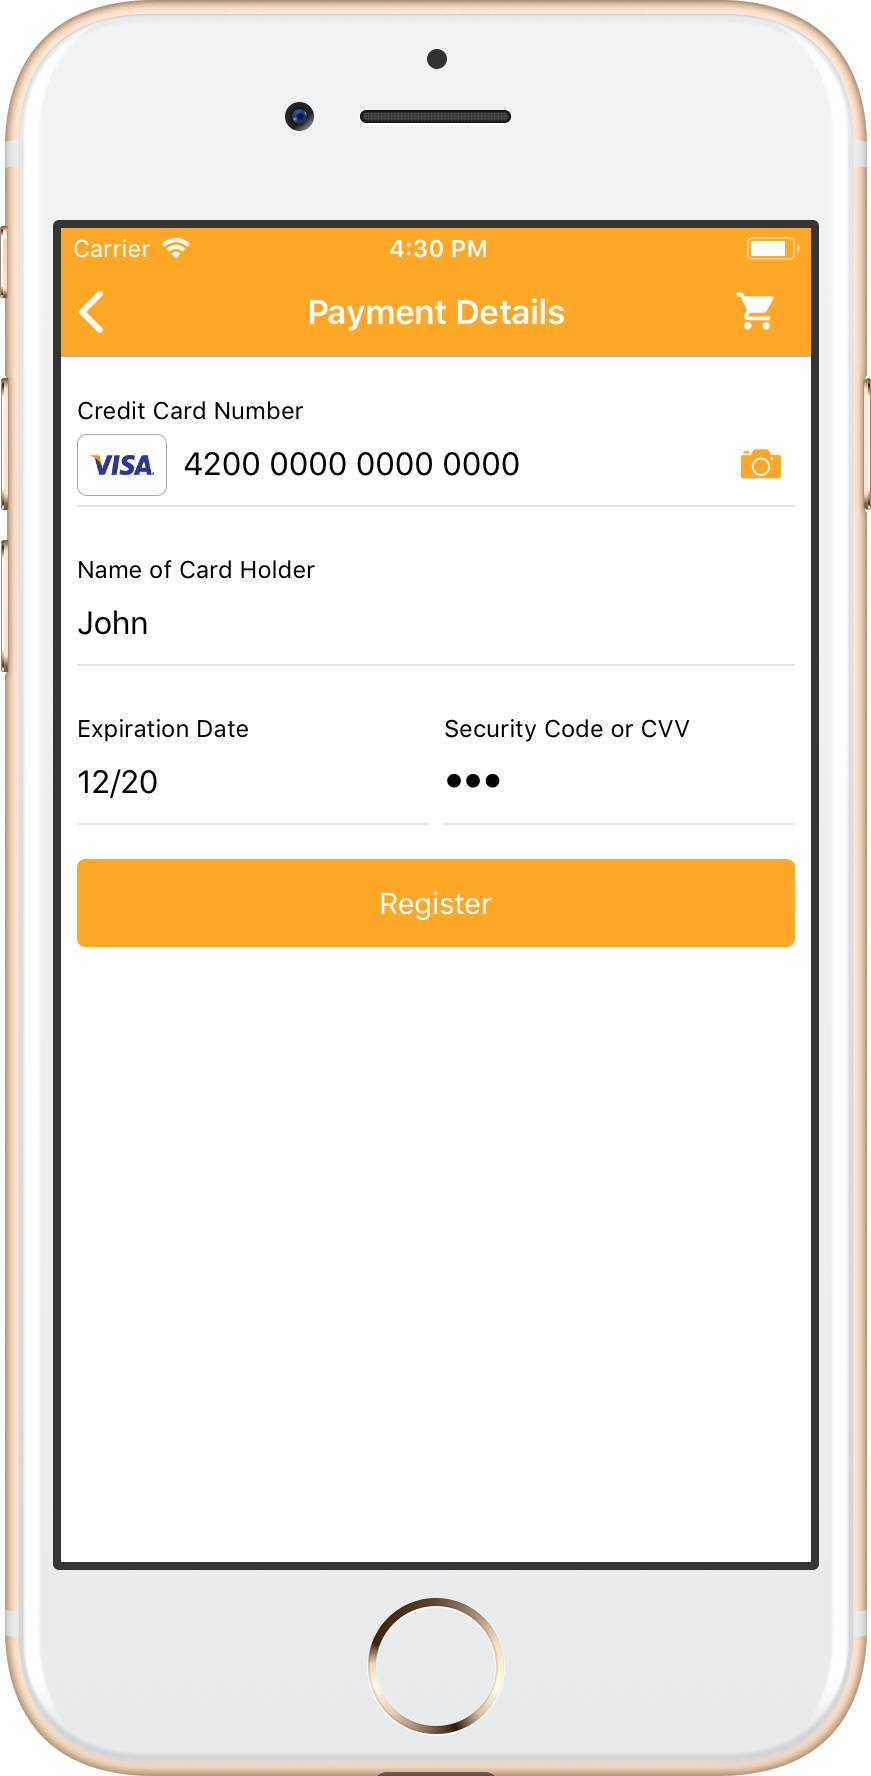
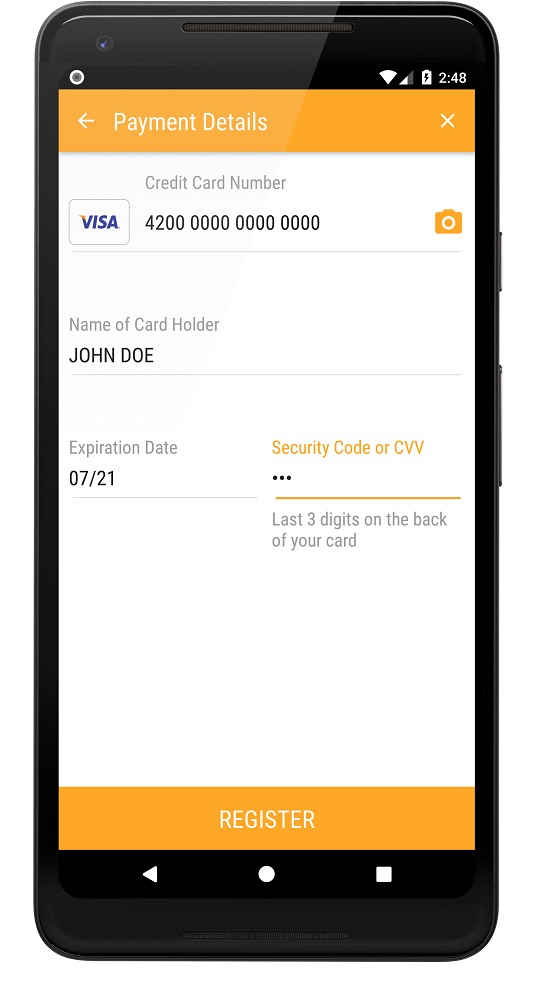
The following card details can be tokenized:- card holder,
- card number,
- expiration date.
CVV cannot be stored with a token, you can prompt the shopper to re-enter the CVV code for subsequent transaction, if required.
Bank accounts
DIRECTDEBIT_SEPA is available for tokenization, the following details are stored:
- bank account holder,
- IBAN.
Virtual accounts
PAYPAL tokens can be used for a payment since version 2.66.0.
Storing payment data
SDK provides two options for storing the payment data:
- Store the data during a payment: When a shopper is checking out for the first time, he has to fill in his complete payment data. Use this option to automatically store his data during the payment for reuse in later transactions.
- Store the data as stand-alone: If your site provides shoppers with an administrative area where they can register their payment details independent of a checkout-process, this option is for you.
Store the data during a payment
You have two options for achieving this:
- Merchant-determined tokenization
- Shopper-determined tokenization.
1a. Merchant-determined tokenization
During the checkout process you can store the data by adding the additional parameters to the normal prepare checkout request as described in COPYandPAY merchant-determined tokenization.
1b. Shopper-determined tokenization
2. Receive a token along with payment status
If payment details should be stored, our server will generate a token for the passed data and return it with the payment status (step 3).
Parameter registrationId is your generated token. Your server is responsible for handling and storing the token.
Here is an example of the Payment Status response:
{
  "registrationId":"8a82944a580a782101581f3a0b4b5ab9",
  "result":{
    "code":"000.100.110",
    "description":"Request successfully processed in 'Merchant in Integrator Test Mode'"
  },
  // ...
}
Store the data as stand-alone
It is also possible to create a just registration separate from any later payment.
A registration-only transaction is basically using the same workflow and parameters as a payment.
1. Prepare checkout
You only have to change two parameters in step 1:
createRegistration=truehas to be sent.paymentTypeshould not be sent.
Now SDK automatically adapts the workflow for handling a registration.
2. Receive a token with registration status
After sending transaction you'll get back a resourcePath=/v1/checkouts/{checkoutId}/registration pointing to you to query for a registration's result. Request transaction status using this resourcePath.
Using payment data
Prepare checkout with tokens
The only thing you need to add is additional parameter to the normal prepare checkout request (step 1). Your server should send shoppers' tokens along with other configuration data such as amount, currency, order type and etc.
Tokens should be sent in the registrations[n].id parameter, where n is a sequence number from zero, incrementing for each shopper's token. For example, if the shopper has two tokens, you would send registrations[0].id = {first tokenID} and registrations[1].id = {second tokenID}.
You can test this request in the COPYandPAY guide.
Stored payment methods UI
Before presenting payment pages SDK automatically fetches tokens related to the checkoutId from the server and displays the pre-filled payment methods to the shopper.
Skipping 3D-Secure for stored cards
To skip 3D-Secure for payments with stored cards, you should send one additional parameter during Preparing the checkout:
recurringType=REGISTRATION_BASED